
Tipi
The simplest and most effective way to start any kind of fire. You’ll use a tipi made from kindling to start build one with the smallest, driest, most exposed pieces of wood possible. Then, either put your tinder in its centre and light it or light it!
The basic idea is to create a structure that concentrates the flame while allowing plenty of air to enter. Start with enough wood on your tipi to get going, then just add more slowly as the fire builds. Start small and work up to larger pieces as appropriate; you’ll develop a feel for when and how large with practice

Log Cabin

Building a log cabin creates a structure that will progressively burn for a long time, while lighting quickly and easily from a tipi or other kindling structure built inside it. These are great for getting bonfires going quickly or just building a campfire you can then ignore while you prep food or perform other chores. Use the thickest logs for the base, then go a bit smaller as you work up. You can also reduce the circumference into sort of a pyramid for something that will catch a bit quicker.
Lean-to
Need to protect your fledgling fire from wind and rain as you get it going? Build a lean to does just that. There’s two main methods for doing this. The first, and easiest, is to simply lay a big log down as a windbreak, then lean your progressively larger firewood on that.
Demonstrated here is the cantilevered branch approach, which allows you to build something larger. To do it this way, find a green branch to serve as a ridge pole and either prop it up with a forked stick or weight it as we did here. Then, just build that lean to starting with small kindling and working your way up to larger pieces of wood. Build a little tipi way inside the lean to, where it’s protected from the wind and rain and, by the time the whole thing collapses, it’ll be going strong enough to be impervious to weather

Square Knot (Reef Knot)
Sheep Shank
Clove Hitch
Timber Hitch
Bow Line
Sheet Bend
Friendship Knot
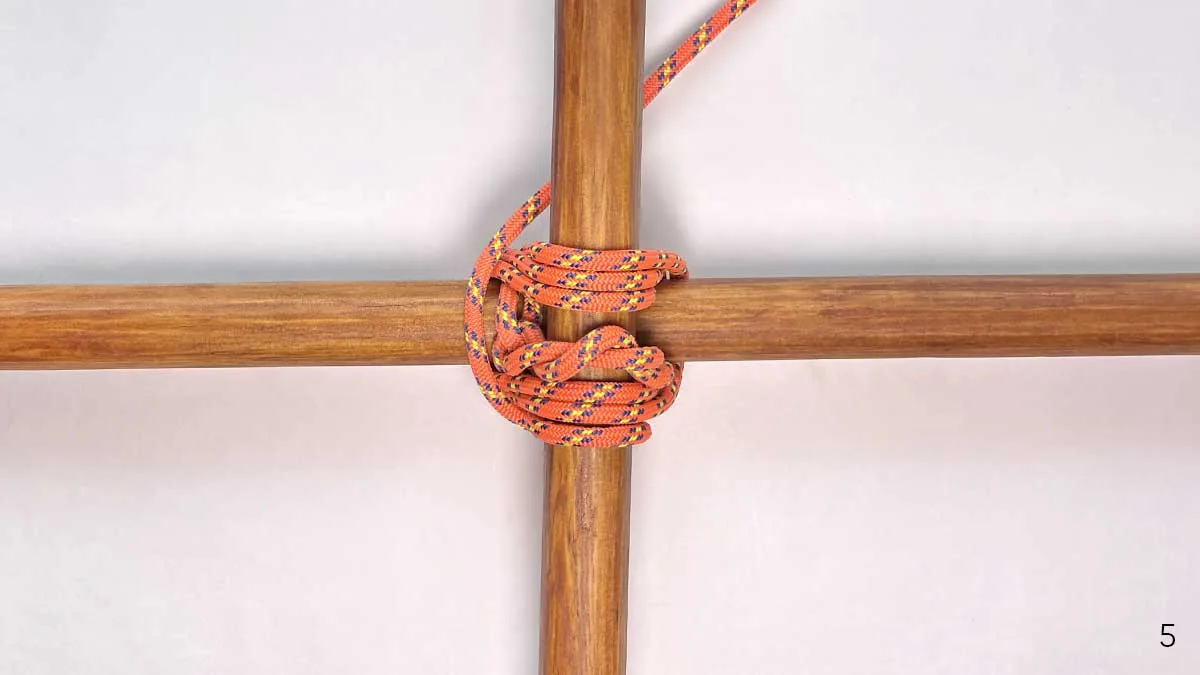
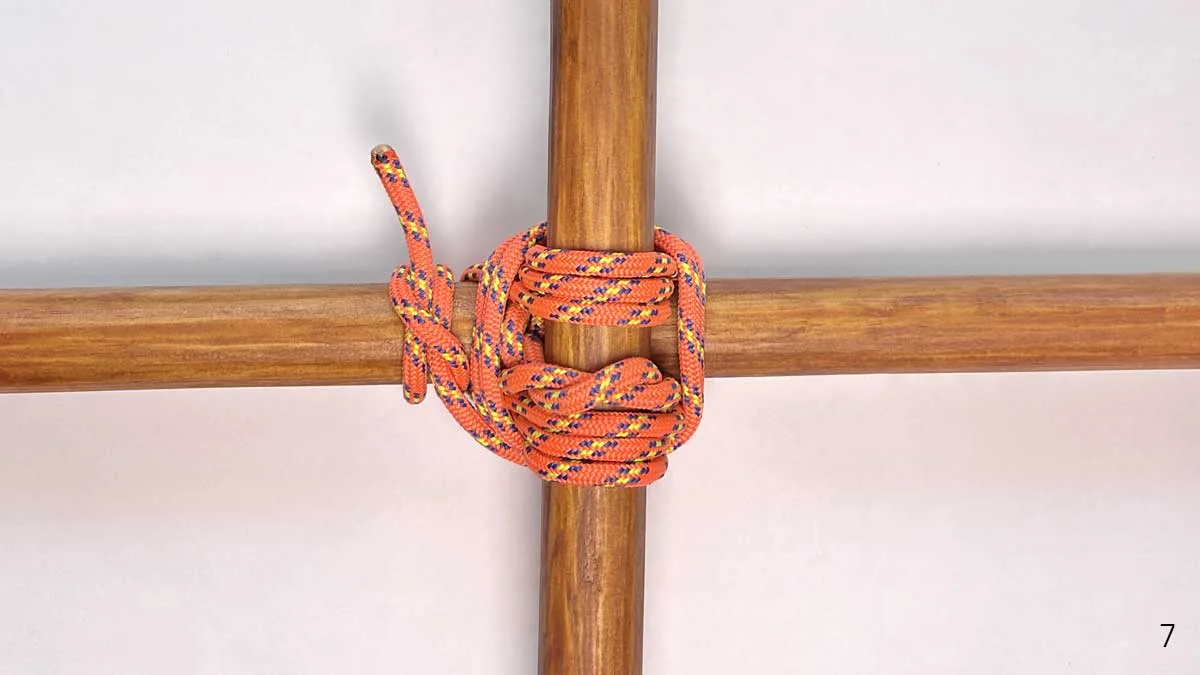
Square Lashing
The Square Lashing Knot is used to lash two poles together, usually at right angles.
It’s used in load bearing applications to keep the poles from sliding over each other and create a stable connection.
It’s perfect for building a framework for shelters, bridges, furniture, beds, or even ladders.



Diagonal Lashing
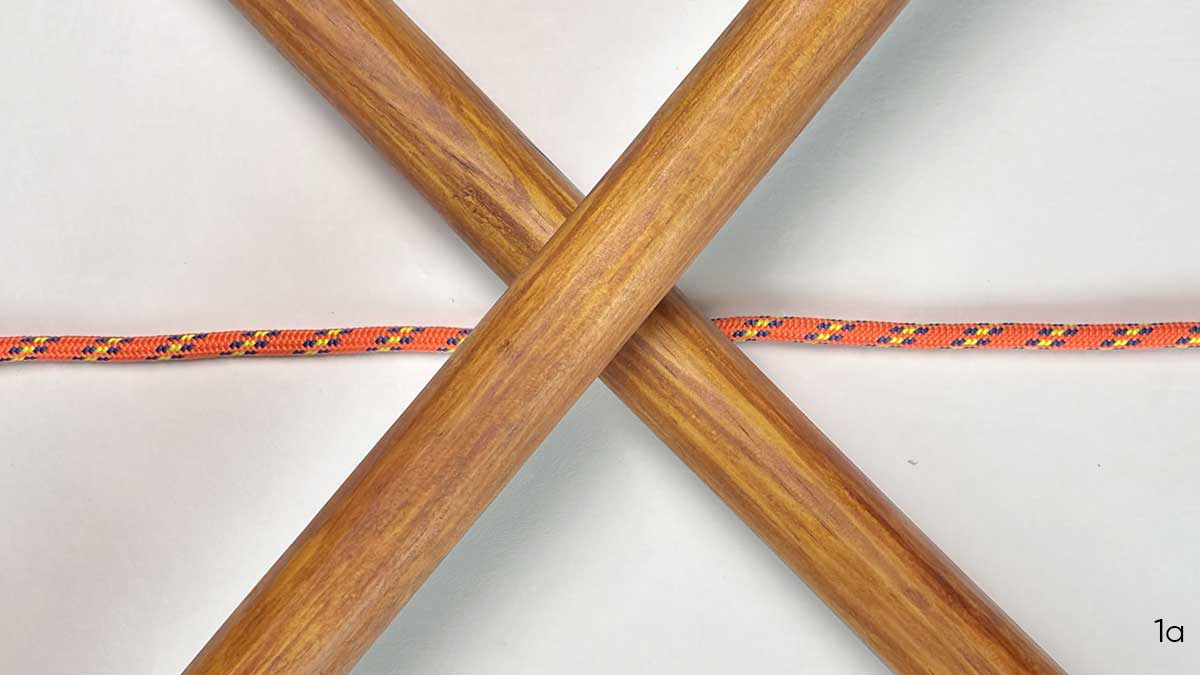


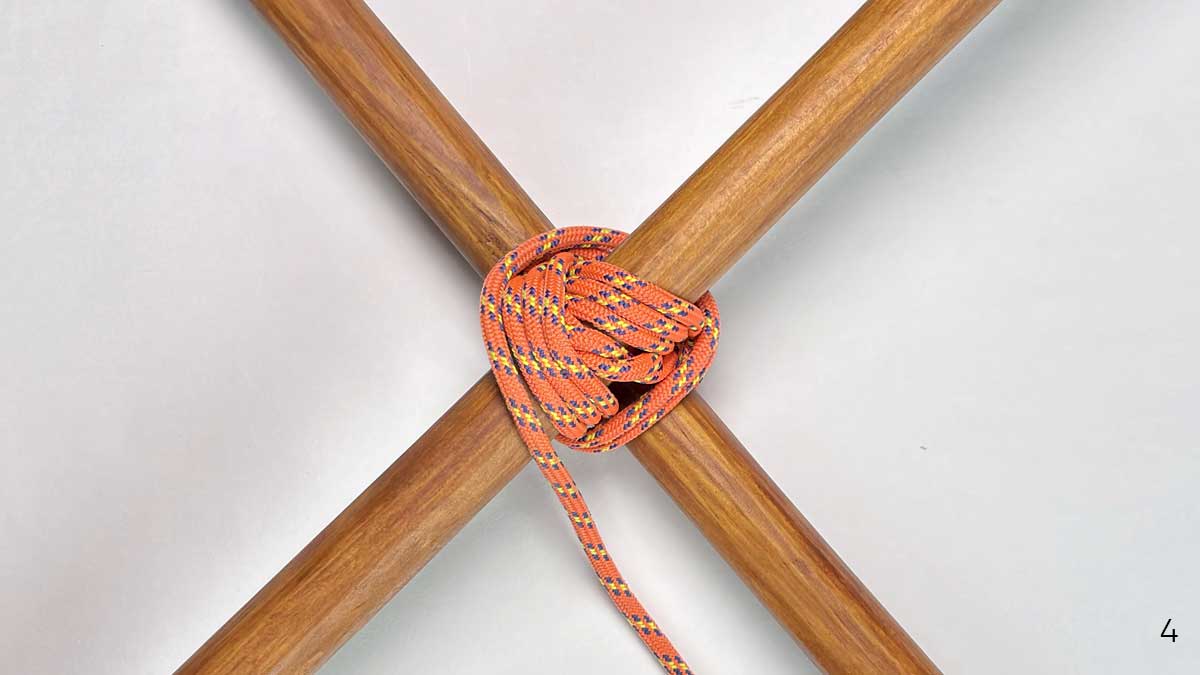
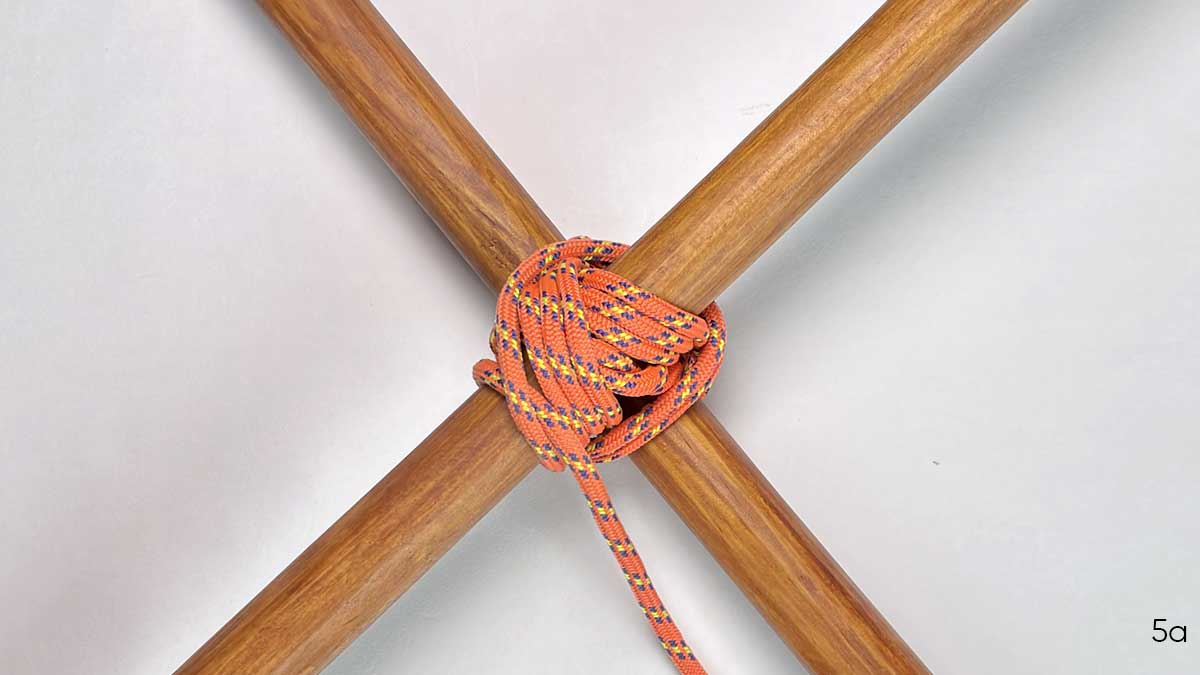
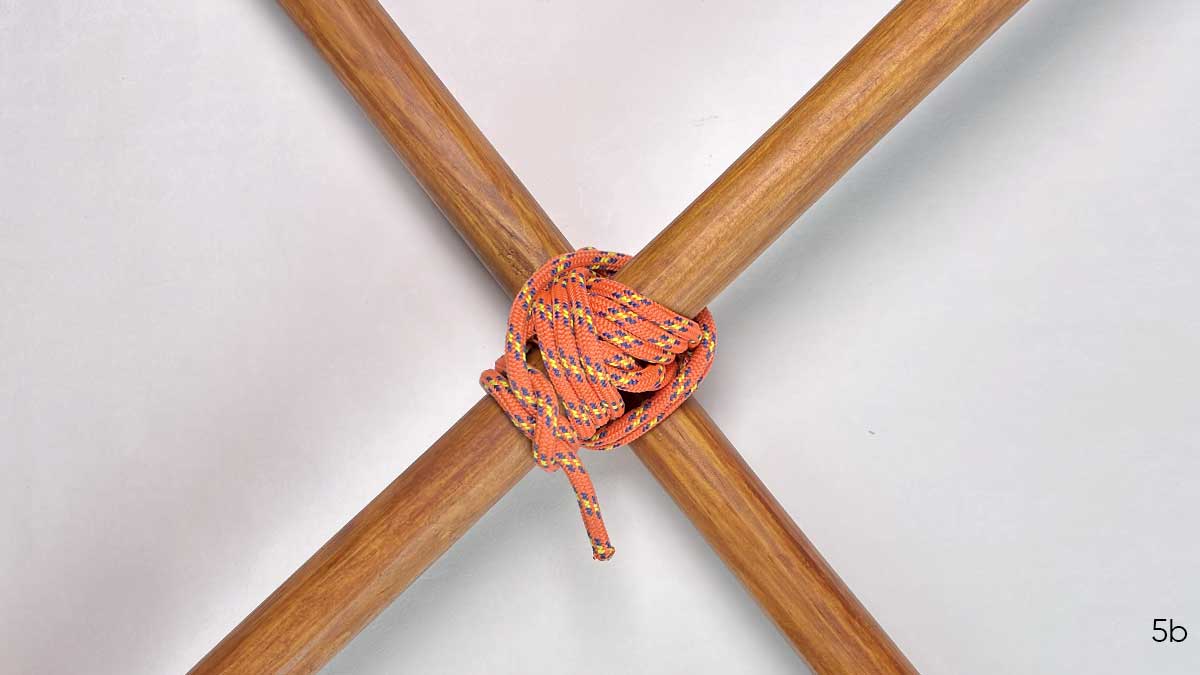
The Diagonal Lashing Knot is used to connect two poles at an angle other than 90 degrees.
Unlike Square Lashing, this works best when the poles do not touch each other but still need to be secured.
The name comes from the fact that the wrapping turns across the poles diagonally, forming an X shape between the poles.
Shear Lashing
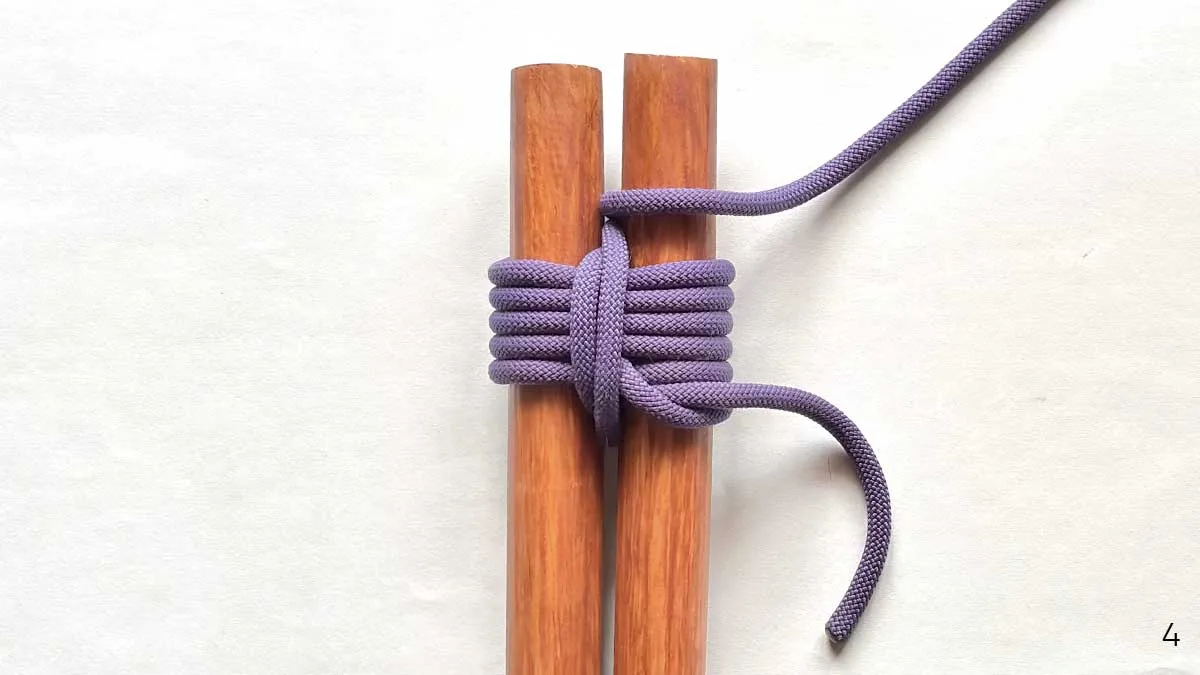
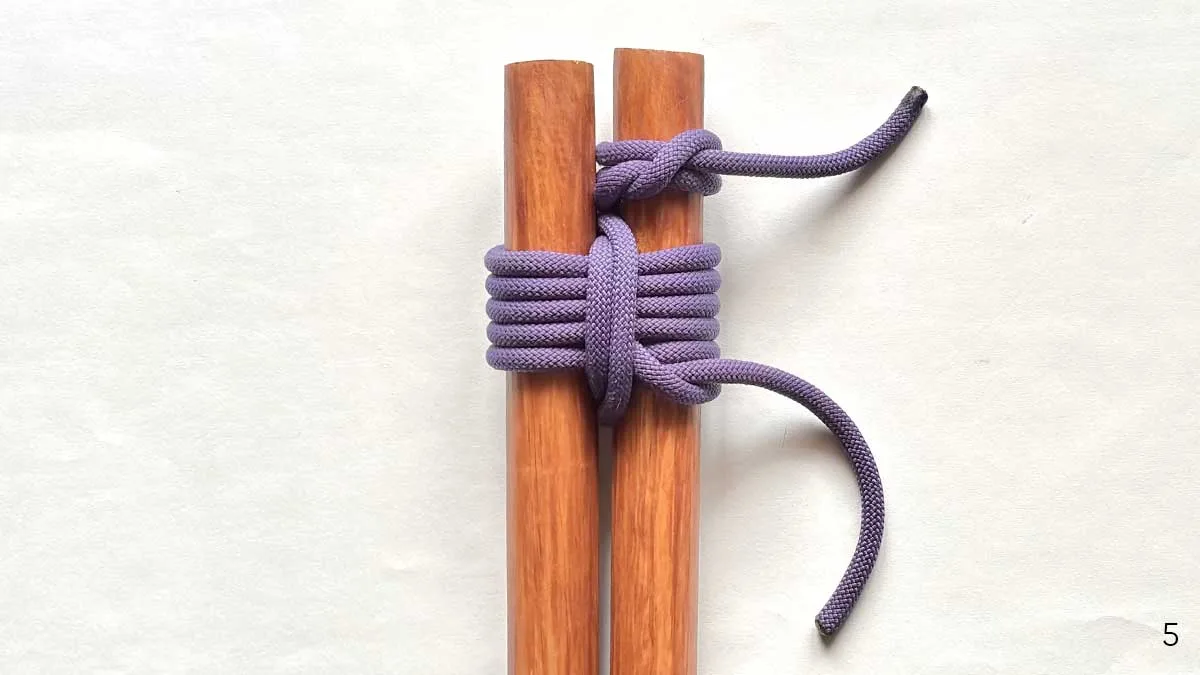
A shear lashing (also spelled sheer lashing) is a pioneering knot used to bind two parallel poles together so they can be opened up like scissors to form an A-frame or shear legs (such as for tripods, towers, or bridge


Tripod Lashing
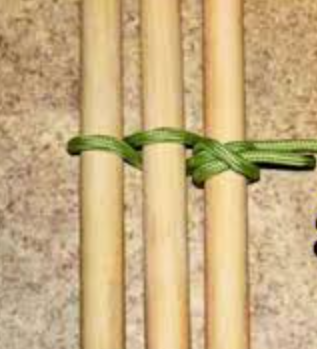
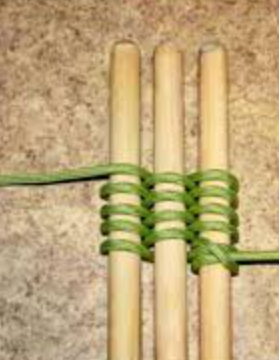
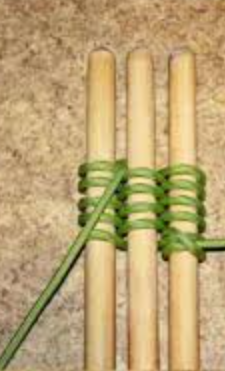
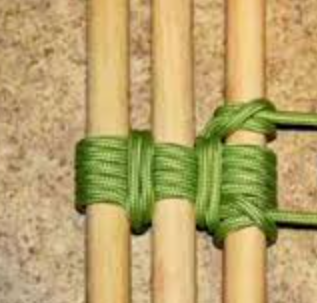
A tripod lashing is a scouting and bushcraft technique used to join three poles or spars together to form a self-standing tripod



Trangias are used a lot within Explorers below is how you put a Trangia together follow these step and some basic safety instructions
– Never use Trangia in a tent
– Always use Trangia on an even and flat surface
– Always wait until the burner has cooled down before packing away
Start by removing the strap, loosen the buckle and untie the strap.
Take off the frypan/lid. The frypan can be used as a lid and is available in four different materials.
Fold the supports upwards or downwards to fit saucepans or frying pan.
Take out the kettle. Not included in all models, available as an accessory.
Take out the saucepans. The saucepans are available in four different materials.
We now use gas so you will need the Gas Burner and a Gas Bottle that will need to be screw fitting
Thread the tube through hole in the top and out through the side then connect to the gas bottle